Hand coating paper is the double edged sword of the alternative processes. It provides almost unlimited flexibility in tone and contrast and gives the opportunity for almost unlimited problems because of the number of variables. There are so many variables involved in hand coating that a lot of folks get involved experimenting and testing with various papers and never make photographs. I am happy to listen to skilled practitioners of the craft and I rely on their experience and good judgement to help me make a platinum print in the most efficient method possible.
I started making platinum prints with Palladio Paper, a machine coated platinum paper that appeared for an all too brief time in the last decade of the previous century. Again people, that would be the TWENTIETH Century. Although it would also be true of the nineteenth century.
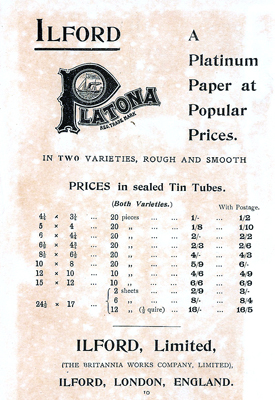
At the end of the nineteenth Century, the good folks at Ilford used to support Platinum Printing with "A Platinum Paper at Popular Prices." This page is from the Ilford Manual of Photography. There is no date from this publication, but a recent check of the interwebs says this advert was published in 1902. It was the property of my wife's grandfather. The book is a treasure trove of ancient formulas with some really nasty stuff like mercuric chloride negative intensification and the like. But, I digress...
I started hand coating with the kit from Bostick and Sullivan. I used a glass rod for coating on Crane's Platinotype paper. It gave pretty good results for a start. My materials have evolved to the Richeson series 9010 brush and Bergger COT 320 paper. The sensitizer formulation now includes Sodium Chloroplatinite as the contrast agent. I am very pleased with this combination of brush, sensitizer and paper. So, let's take a look at how I go about coating paper for my platinum prints.
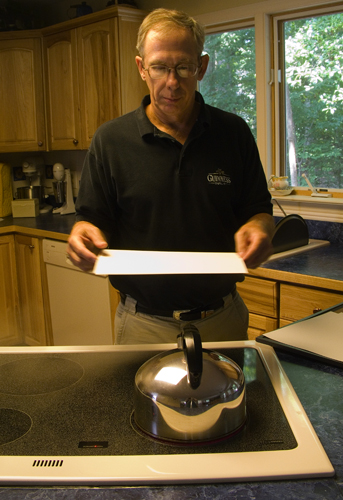
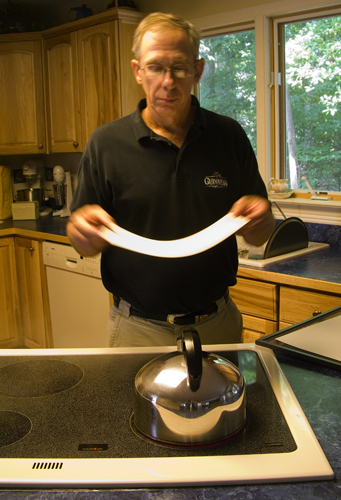 First step is humidifying the paper. Coating paper and humidity are directly related. There are those that have hygrometers in their darkroom and monitor humidity. I live in North Carolina. Humidity is not a problem here. But I do "steam" my paper to prepare it for coating. On the left the paper has not yet been steamed. On the right the paper has been steamed. Steamed paper will not support itself.
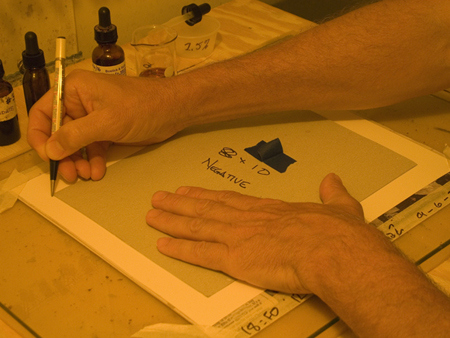
After steaming the paper, I let it rest for a little bit before coating the paper with the sensitizer solutions. The next activity to undertake is securing the paper for coating. I use masking tape to tape the paper (smooth side up, of course) to some old newspapers also taped to a thick piece of glass. Then I drawn an outline of the negative on the paper by marking the four corners of the area to be coated. Some folks will outline the entire picture area with masking tape to get a clean edge for coating. Me, I'm an artiste - I like the "demonstraton of process" from the brush strokes.
Ambient light in a darkroom? The "safelight" for platinum printing is a sixty watt "bug bulb" which produces a yellow light. Yellow is the opposite of UV, so it is safe for the process. It also allows enough light to make photographs. I thought it would be fun to show what the darkroom really looks like.
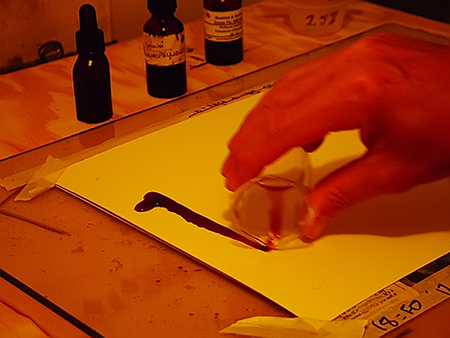
Next thing to do is to measure out the sensitizing solutions and mix them. I use Ferric Oxalate (27%), Sodium Chloropalladite, Potassium Chloroplatinite (these two are my metals) and Sodium Chloroplatinate (the "NA2" contrast agent). In this picture I have placed a blank sheet of paper under my little beaker to display the photogenic nature of the sensitizing solution. You can also see that I have written the drop count on the masking tape that holds the old newspaper to the glass. I have a very good memory, its just that my memory is very short...
An important part of coating with the Richeson brush is to make sure the brush is damp. I dip the brush in some distilled water and shake the brush out a few times to remove the excess water. Now we are ready to coat. I swirl the sensitizer in the little beaker to mix it up a bit and then:
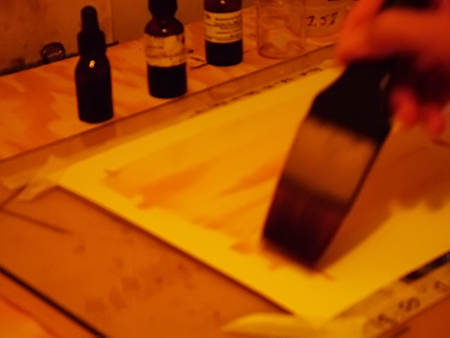
I grab the Richeson Brush and start spreading the senstizer over the paper quickly, but with a light touch. The blurred brush images come from a 1/30 second exposure. I brush to and fro, hither and yon, left to right, back to front and then reverse the whole process. In other words, lightly brush the senstizer over the paper in multiple directions until the paper has absorbed the sensitizer. You should not be able to see any liquid on the paper surface and the paper should have a glazed looking surface. Staying inside the marks is optional. If you make the edges uneven, people will think you are a real artiste.
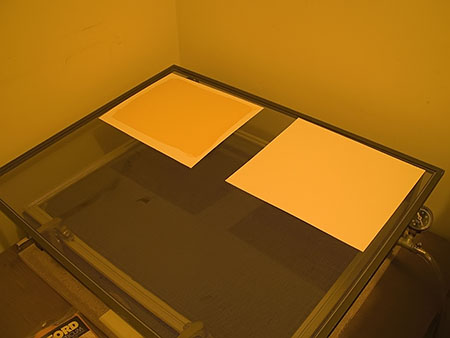
After that, I set the paper on a drying screen to dry completely. The paper on the left has been coated, the paper on the right is patiently waiting its turn to be properly coated. I do not force dry my paper using a hair dryer. I think that the COT 320 paper likes to take its time being dried. So, I let it do so; either over night or just a couple of hours in my darkroom with all lights turned off.